- Mastering Articulate Storyline
- Ashley Chiasson
- 750字
- 2021-07-14 11:19:15
Adding content to your story
Content is essential to any story because without it, there would be no story. In this section, you will become reacquainted with all of the basic content features Storyline has to offer, and these features will be expanded upon in later chapters.
Scenes and slides
Your first order of business before you can add content to your story is to begin by adding scenes and/or slides.
Scenes are basically containers that hold a group of slides. As previously mentioned, ahead of development, you may find it easiest to consider the content you plan on authoring.
Slides are where your content is housed. You will use slides to house the content that users will navigate through. With slides, you are able to define layouts, create the content, and set the content up as you would like it displayed in the final Storyline file. Slides in Storyline work the same as slides in Microsoft PowerPoint, so if you're familiar with Microsoft PowerPoint, you already have the skills you need! If you're not familiar with Microsoft PowerPoint, you're going to catch on quickly; just hang in there!
To add a new scene, select the New Scene icon from the Home tab. To add a new slide, select the New Slide icon from the Home tab in either Story View or Slide View. When in Story View, ensure you first select the scene in which you want to add the new slide.
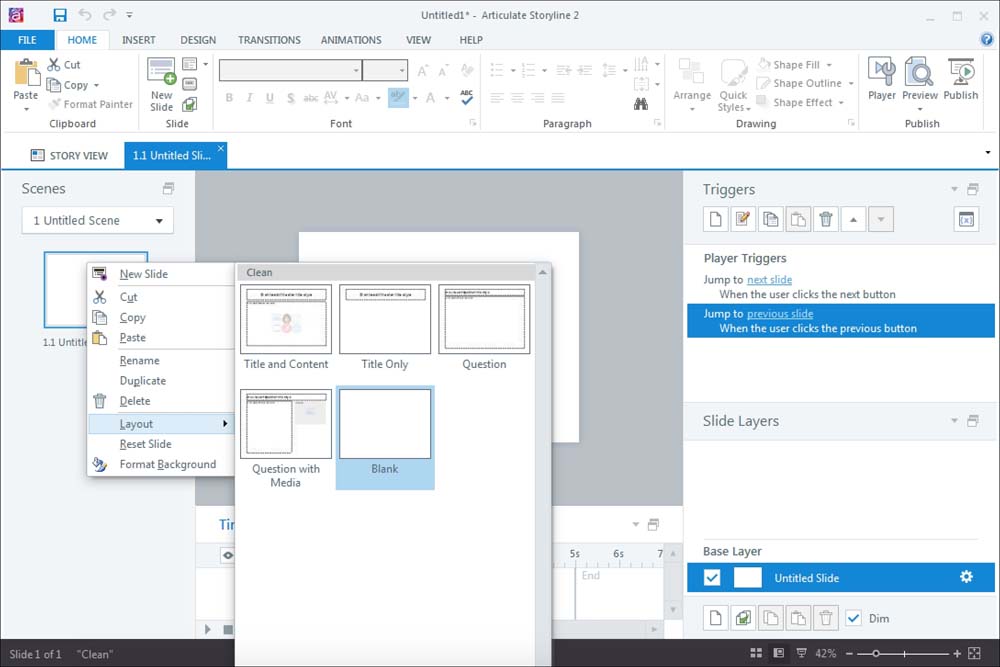
Once slides have been added, you are then able to change the layout, if necessary. You can do this in Slide View by right-clicking on the slide you wish to change, clicking on Layout, and selecting the desired layout.
Tip
If you have imported content from another Storyline file or template, you will see all available layouts used in that file within the Layout section.
Working with text
If you're familiar with most authoring tools (such as Microsoft Office), even though they aren't e-learning authoring tools, you are probably familiar with all of the capabilities of the internal text editor. Most editors allow you to change font style, size, color, alignment, and more. The text editor in Storyline is no different.
The text you choose to edit can be any slide text, including the text inserted into the slide notes panel, where most text editing options are functional.
However, between Storyline 1 and Storyline 2, the text editing features were enhanced. Storyline 2 allows paragraph alignment/direction, special characters (such as em dashes), and character spacing. If you're a Storyline developer who likes control, you'll be cheering, I know. This functionality allows use to have full control of the text in our stories and make it look just how we want it to look.
Formatting text
Formatting text in Storyline is the same as in any other text editor–you highlight the text you wish to format and use the formatting options as you wish. It is worth noting that the text formatting functionality in Storyline 2 is much more comprehensive than most other text editors. For example, with paragraph spacing, you can now adjust paragraph indentation and line spacing between paragraphs!
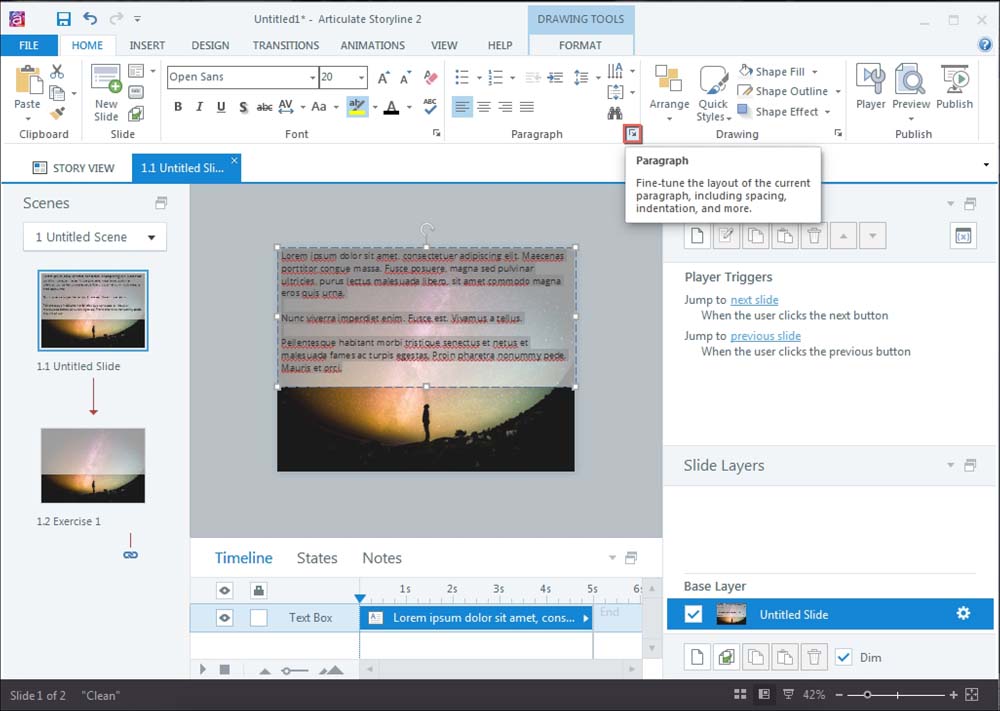
To format paragraphs, select the text you wish to format and click on the expand icon in the Paragraph section of the Home ribbon:
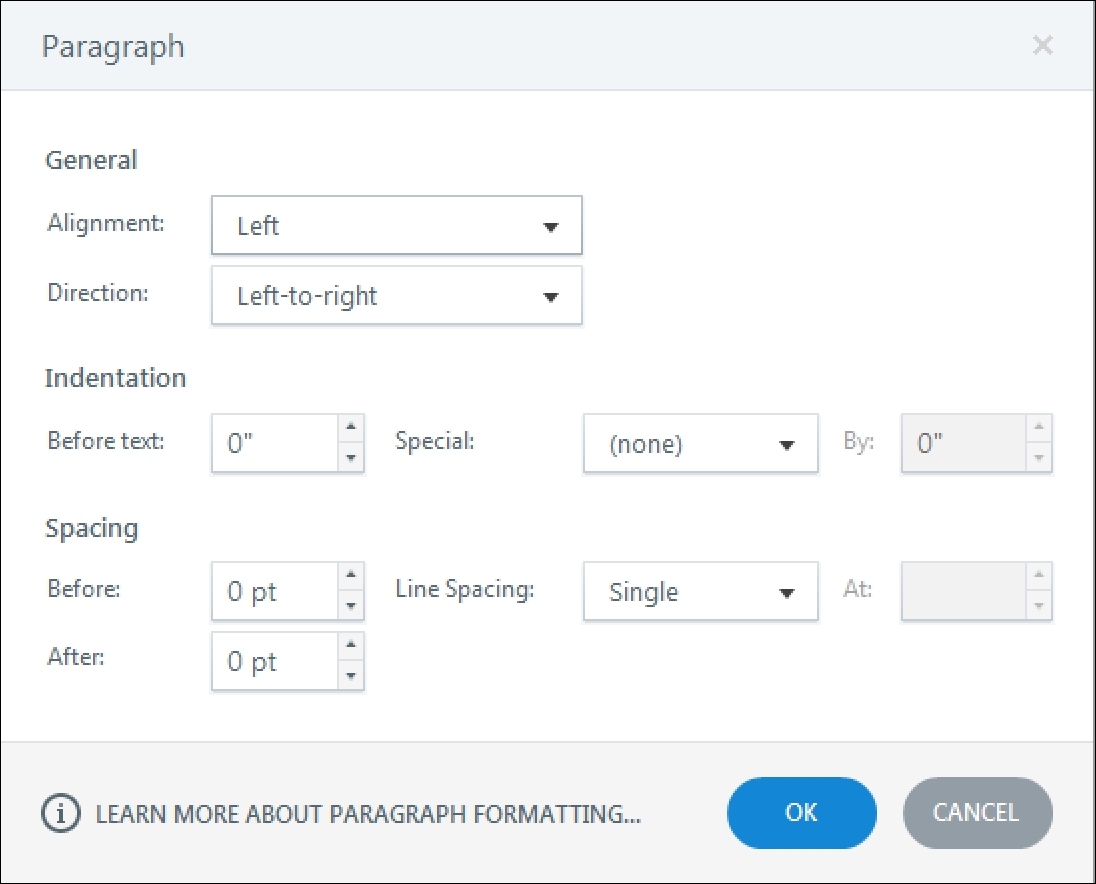
You will be presented with the Paragraph menu, where you can adjust alignment, direction, line spacing, and paragraph spacing. In this menu, you can set the available parameters to the desired amounts and select OK to apply.
Exercise 1
In this exercise, we'll be focusing on formatting paragraphs. This exercise illustrates just how easily you can control your paragraphs:
- Click on the text placeholder, where it says Click to add text. Type
=Lorem()and then press Enter. You will notice that sample text has been populated in the text box. - With your mouse, highlight all of the text and click on the expand icon on the Paragraph menu of the Home tab.
- In the Paragraph menu, adjust all variables as indicated in the following list:
- General:
- Alignment: Left
- Direction: Left-to-right
- Indentation
- Before text: 0.25"
- Special: Hanging
- By: 1.25"
- Spacing
- Before: 0.5 pt
- After: 0.5 pt
- Line Spacing: Exactly
- At: 14.25 pt

- General:
- Your exercise slide should have progressed from the Before slide to the After slide in the
Exercise 1file:
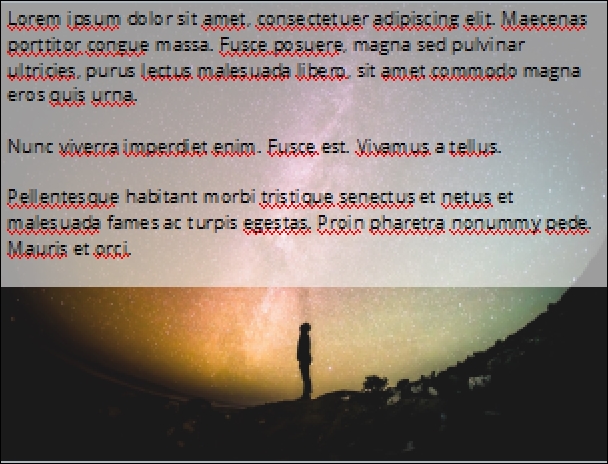
Before slide
After slide
- Go Web編程
- Visual FoxPro程序設計教程(第3版)
- Building a RESTful Web Service with Spring
- iOS開發實戰:從零基礎到App Store上架
- 低代碼平臺開發實踐:基于React
- Python深度學習:模型、方法與實現
- Android應用案例開發大全(第二版)
- 深入剖析Java虛擬機:源碼剖析與實例詳解(基礎卷)
- Internet of Things with ESP8266
- Building Wireless Sensor Networks Using Arduino
- Spring Boot+MVC實戰指南
- Emotional Intelligence for IT Professionals
- Go語言入門經典
- Visual C++從入門到精通(第2版)
- 計算語言學導論