- Learning LEGO MINDSTORMS EV3
- Gary Garber
- 481字
- 2021-08-06 19:25:23
Skid-bot with the Retail kit
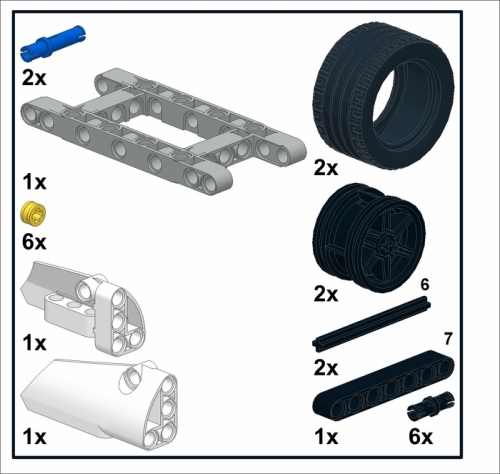
The following robot uses two-drive wheels and a ski or skid plate in front. Although you can easily build a four-wheel robot, I find that it can be harder to maneuver a four-wheel robot with a high degree of precision. Depending on the balance of a four-wheel robot, the non-driving rubber wheels will provide a large amount of friction that will make it difficult to turn accurately and in a predictable and reproducible manner. Using a skid in the front reduces the amount of friction. In later chapters, we will do a lot of optical line tracking with our robot and for this I want a robot with high maneuverability; thus, we will build a skid-bot. The following steps are meant for the Retail Edition of the kit, but you can easily find pieces to build a skid-bot with the Educational Edition. You will use the following parts from the Bill of Materials in the following screenshot to assemble the skid-bot. If you have the Education Edition, you may want to skip ahead and build the caster-bot.
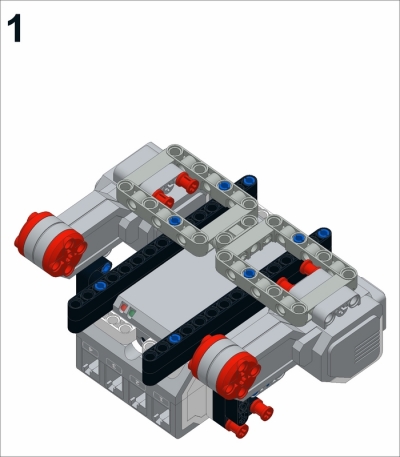
First, take your chassis and flip it upside down:
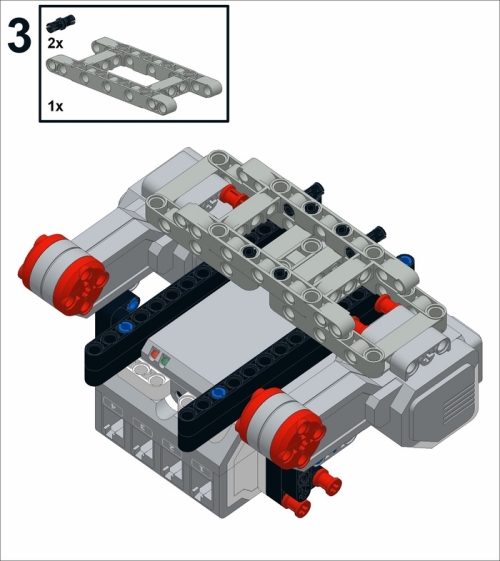
Next, insert four black friction pins into the open frames of the chassis as shown in the following screenshot:

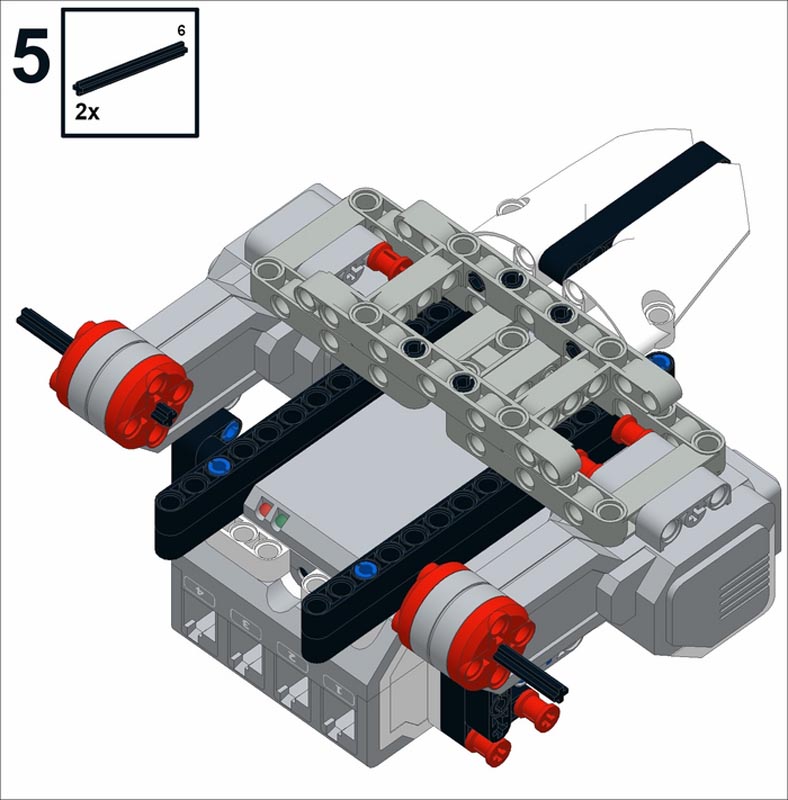
Now you will add the longer open frame onto the chassis with two black-friction pins sticking out the front. This will make the level we want for line tracking.
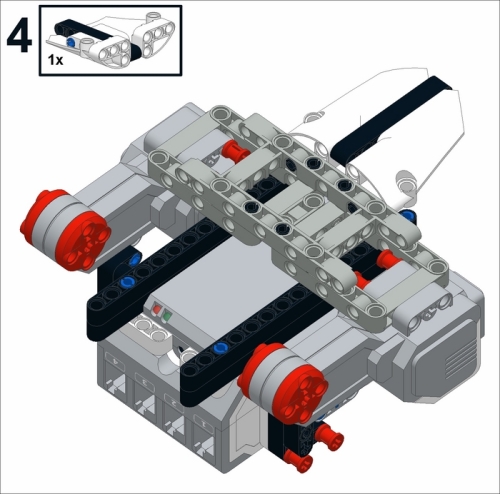
In the next submodel, we will assemble the skid. This consists of two of the white skid pieces interspaced with a black mod-7 beam. The beam will actually be on the centerline of the robot and is needed so that the robot is symmetrical and balanced.

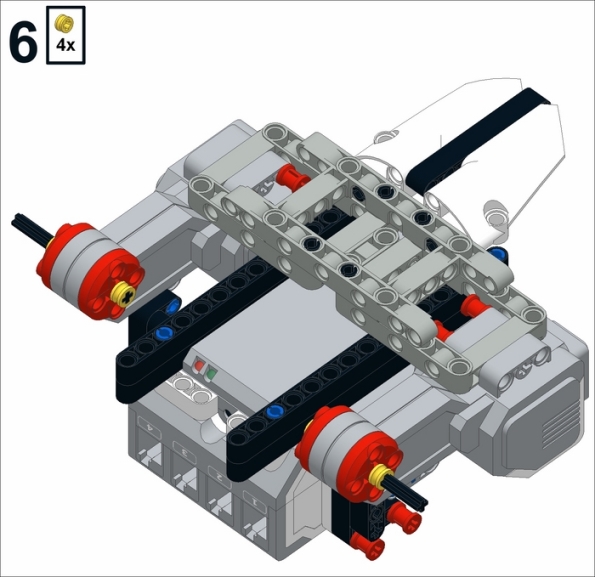
Next we will attach the skid assembly to our open-frame bricks:
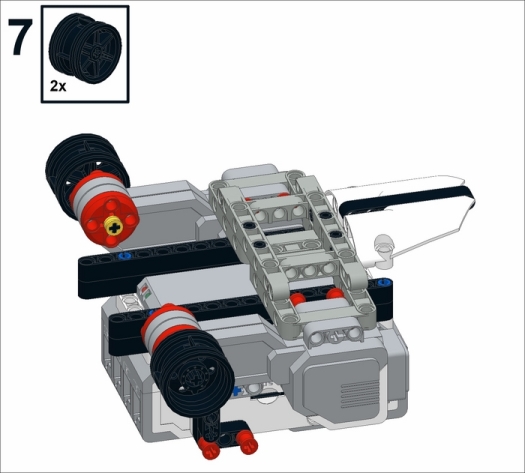
Now we will insert two 6-mod axles into the large motors to mount the drive wheels:
Then add four yellow half-bushings onto either side of the axles to prevent them from slipping:
In this step, we will add the hubs for the tires. Insert the hubs onto the axles in the orientation as shown in the following screenshot:
Next, insert two yellow half bushings into the hubs to prevent them from sliding off:
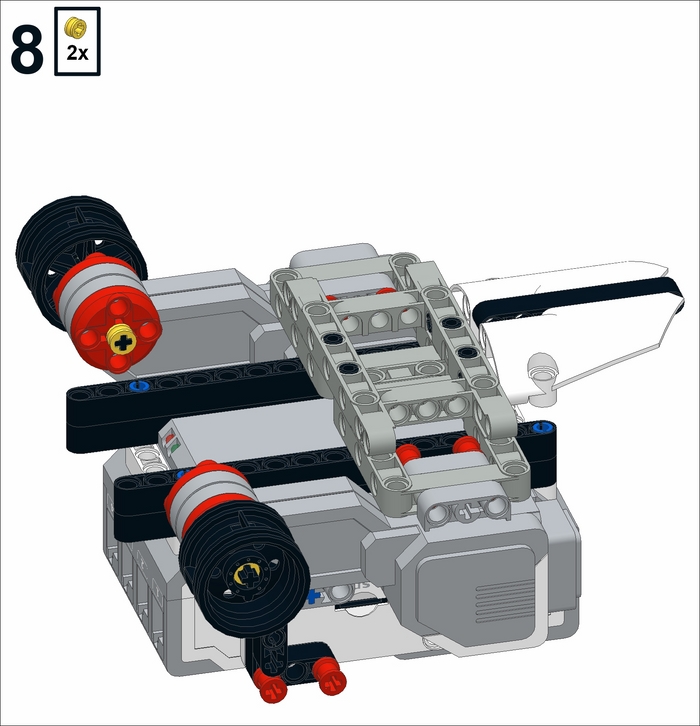
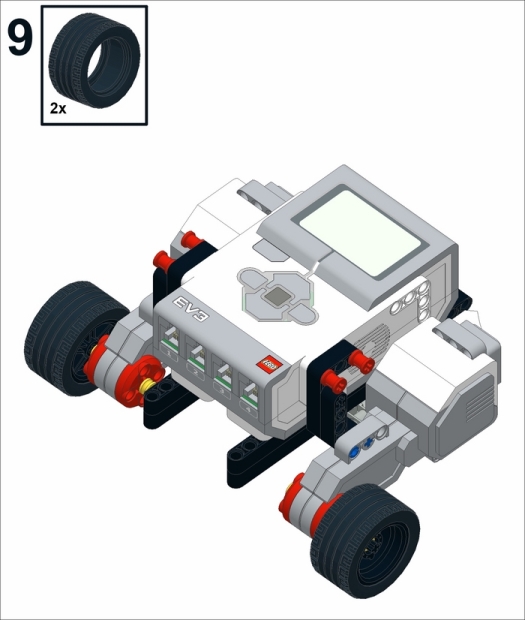
Finally, place the tires onto the hubs:
You will find that you could also build a skid-bot with the Educational Edition. However, because the Educational Edition has larger tires, you would have to account for this by adding an extra layer of beams above the skid so that the robot is leveled. As a warning, you will find that the skid will get scuffed up if you are driving on a rough surface. In the next three sections, I will explain how to build the caster-bot and two tread-bots. If you have just built the skid-bot, you may want to skip ahead to the programming section at the end of this chapter.
- Software Defined Networking with OpenFlow
- MySQL數據庫應用與管理 第2版
- Practical Game Design
- 深度強化學習算法與實踐:基于PyTorch的實現
- 嚴密系統設計:方法、趨勢與挑戰
- 表哥的Access入門:以Excel視角快速學習數據庫開發(第2版)
- Spring MVC+MyBatis開發從入門到項目實踐(超值版)
- Access 2010數據庫應用技術實驗指導與習題選解(第2版)
- PrimeFaces Blueprints
- Penetration Testing with the Bash shell
- C語言程序設計與應用實驗指導書(第2版)
- Serverless工程實踐:從入門到進階
- Laravel 5.x Cookbook
- 軟件自動化測試實戰解析:基于Python3編程語言
- Ionic Framework By Example