- Cloud Native Python
- Manish Sethi
- 450字
- 2021-07-02 19:11:58
GET /api/v1/users/[user_id]
The GET/api/v1/users/[user_id] method shows the user details defined by user_id.
Let's create the route for preceding a GET request into the app.py file as follows:
   @app.route('/api/v1/users/<int:user_id>', methods=['GET'])
   def get_user(user_id):
     return list_user(user_id)
As you can see in the preceding code, we call the list_user(user_id) route into the list_user(user) function, which is not yet defined in app.py. Let's define it to get the details of the specified user, as follows, in the app.py file:
    def list_user(user_id):
      conn = sqlite3.connect('mydb.db')
      print ("Opened database successfully");
      api_list=[]
      cursor=conn.cursor()
      cursor.execute("SELECT * from users where id=?",(user_id,))
      data = cursor.fetchall()
      if len(data) != 0:
         user = {}
               user['username'] = data[0][0]
         user['name'] = data[0][1]
         user['email'] = data[0][2]
         user['password'] = data[0][3]
         user['id'] = data[0][4]
            conn.close()
            return jsonify(a_dict)
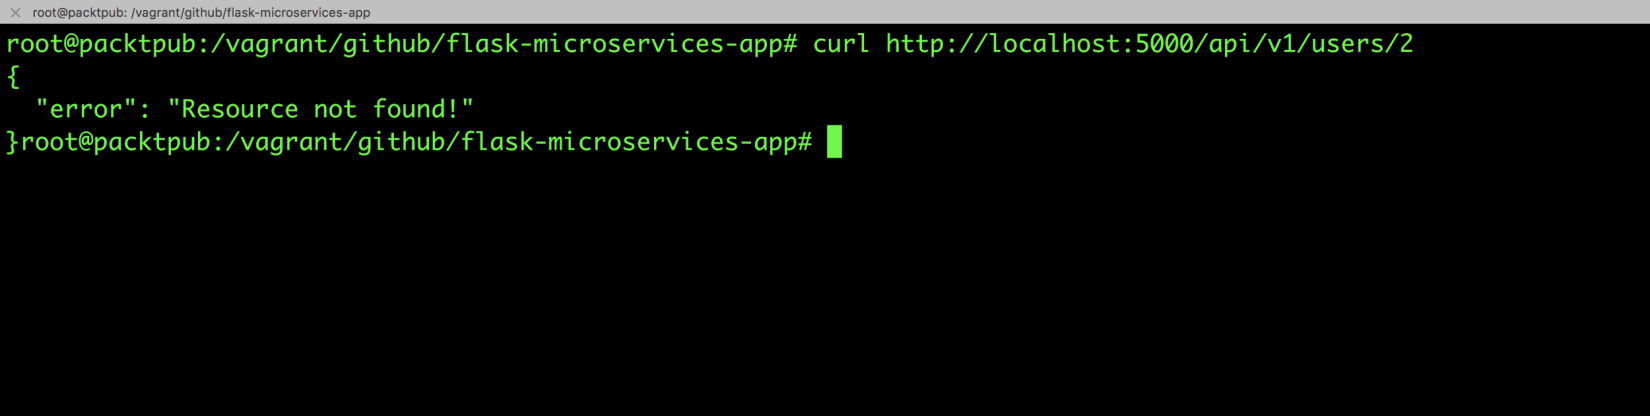
Now that we've added the list_user(user_id) function, let's test it out and see if everything is working fine:

Oops! It seems the ID is not present; usually, Flask applications respond with an HTML message with a 404 error if the ID is not present. Since this is a web service application, and we are getting a response in JSON for other APIs, we need to write handler for the 404 error so that, instead of the HTML response, it should respond back in JSON, even for errors. For example, see the following code for 404 error handling. Now, the server will respond with proper messages which are part of the code, as follows:
    from flask import make_response

    @app.errorhandler(404)
    def resource_not_found(error):
      return make_response(jsonify({'error':
      'Resource not found!'}),  404)
Additionally, you can add the abort library from Flask, which is basically for calling exceptions. Similarly, you can create multiple error handlers for different HTTP error codes.
Now that our GET methods are working fine, we will go forward and write the POST method, which is similar to adding new users to the users list.
There are two methods to pass the data into the POST method, which are as follows:
- JSON: In this approach, we pass the JSON record in the form of an object as part of the request. The RESTful API call would look like this:
curl -i -H "Content-Type: application/json" -X POST -d {"field1":"value"} resource_url
- Parameterized: In this approach, we pass the values of the record as parameters, as follows:
curl -i -H "Content-Type: application/json" -X POST resource_url?field1=val1&field2=val2
In the JSON method, we provide the input data in the form of json, and we read it in the same way. On the other hand, in the parameterized method, we provide the input data (that is, username, and so on) in the form of URL parameters, and read data in the same way.
Also note that the API creation at the backend will vary with the type of API call being made.
- 計算機圖形學編程(使用OpenGL和C++)(第2版)
- 微服務與事件驅動架構
- Java軟件開發基礎
- ASP.NET 3.5程序設計與項目實踐
- 零基礎學Python網絡爬蟲案例實戰全流程詳解(高級進階篇)
- iOS編程基礎:Swift、Xcode和Cocoa入門指南
- KnockoutJS Starter
- Mastering React
- Access 2010中文版項目教程
- 移動互聯網軟件開發實驗指導
- Android傳感器開發與智能設備案例實戰
- 一步一步跟我學Scratch3.0案例
- Visual C++從入門到精通(第2版)
- Getting Started with Electronic Projects
- Spring Boot學習指南:構建云原生Java和Kotlin應用程序