- iOS 12 Programming for Beginners
- Craig Clayton
- 296字
- 2021-07-02 15:04:48
Toolbar
Next, we look at the toolbar, which is demonstrated as follows:
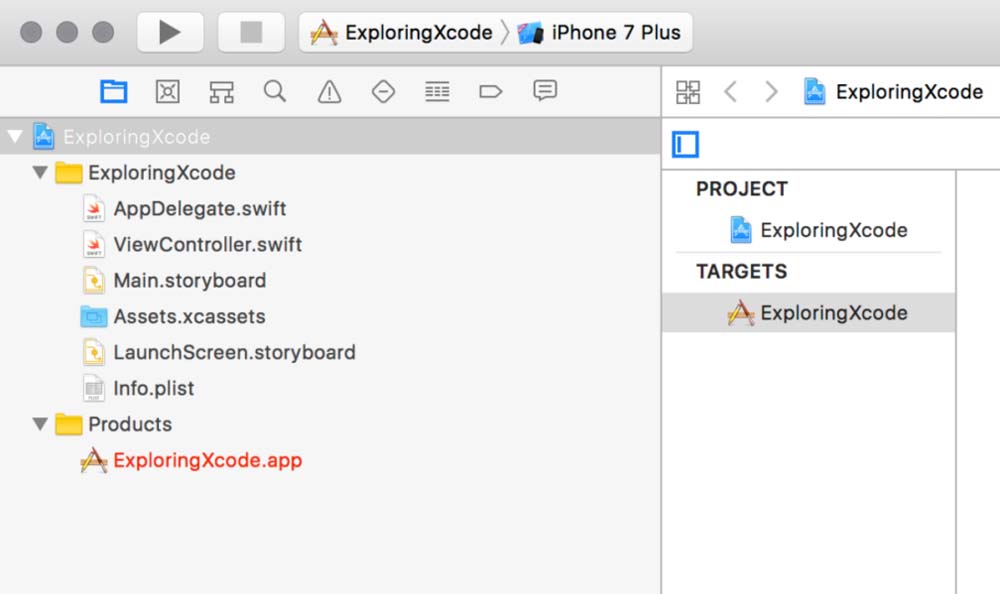
First, we have a play button, which is how we launch our app (or use command + R). Next, you will see a stop button, which will not be active until you run your app. This stop button (or command + .) is used to stop your app from running. To the right of the stop button, you will see your target (your project name), along with the current simulator that has been selected. If you click on your project name, you will see a screen similar to this:
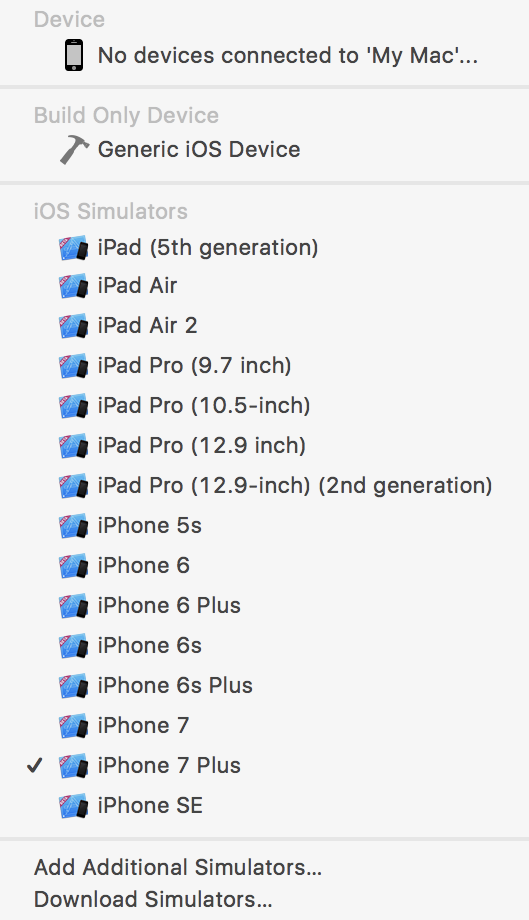
This drop-down menu, which we will call the Device and iOS Simulators drop-down menu, allows you to change your simulator type. For our project, select iPhone7 Plus as your simulator and then click on the play icon (or use command + R) to run your app.
Now, let's return to Xcode and select the stop button (or use command + .).
If you use the keyboard shortcut, make sure Xcode is in focus; otherwise, this shortcut will not work. I work on a 15-inch MacBook Pro Retina. Therefore, when I am working on an app, I will use the iPhone X or iPad Air 2 simulator in landscape mode. They both fit nicely on my screen without me having to resize either.
In addition to the Simulator, there is a Build Only Device as well as a Device section, both of which can be found at the top of the Device and Simulator drop-down menu that was shown earlier in this chapter. Note that, for our purposes, you will only need a simulator while we are building the app; however, you can add an iOS device if you would like (see under iOS Device).
- RCNP實驗指南:構建高級的路由互聯網絡(BARI)
- 解析QUIC/HTTP3:未來互聯網的基石
- FreeSWITCH 1.2
- 數據通信網絡實踐:基礎知識與交換機技術
- 物聯網智慧安監技術
- EDA技術與VHDL編程
- 數字烏托邦
- 物聯網概論(第2版)
- Getting Started with WebRTC
- SSL VPN : Understanding, evaluating and planning secure, web/based remote access
- Wireshark網絡分析就這么簡單
- 網絡安全應急響應技術實戰
- Echo Quick Start Guide
- 端到端QoS網絡設計
- Hands-On Microservices with Node.js