- Hacking Android
- Srinivasa Rao Kotipalli Mohammed A. Imran
- 478字
- 2021-07-14 10:56:10
Stock recovery and Custom recovery
Android's recovery is one of the most important concepts for both tech users as well as users who use their phones just for making phone calls and regular surfing. When a user gets an update for his device and applies it, the recovery system of Android makes sure that it is properly done by replacing the existing image and without affecting the user data.
The Stock recovery image that is usually provided by the manufacturers is limited in nature. It includes very few functions that allow a user to perform operations such as wiping cache, user data, and performing system updates. We can boot our device into recovery mode to do any of those operations specified such as wiping cache. The steps/hardware keys used for booting into recovery mode could vary from manufacturer to manufacturer.
Custom recovery on the other hand provides more features such as allowing unsigned update packages, wiping data selectively; taking backups and setting up restores points, copying files onto SD cards, and so on. ClockWorkMod is one of the popular recovery images that can be shown as an example for custom recovery images.
As mentioned earlier, some manufacturers provide an official method to unlock boot loaders and some come unlocked. If you bought an unlocked phone which is not on contract, most probably you have an unlocked boot loader.
Note
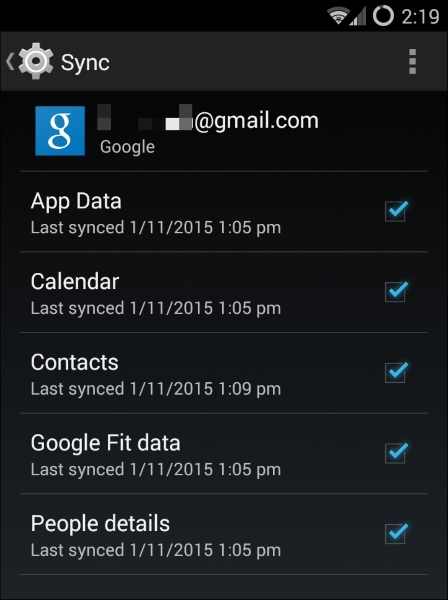
Warning: Rooting and Custom ROM installations always have a risk of data loss, and worst, bricking the phone, so you should always backup the data before you proceed to root. You can backup your data/contacts and so on, by using Google's sync data option or any third-party app.
Prerequisites
Before we embark on our journey of rooting the phone, make sure you have the following prerequisites in place:
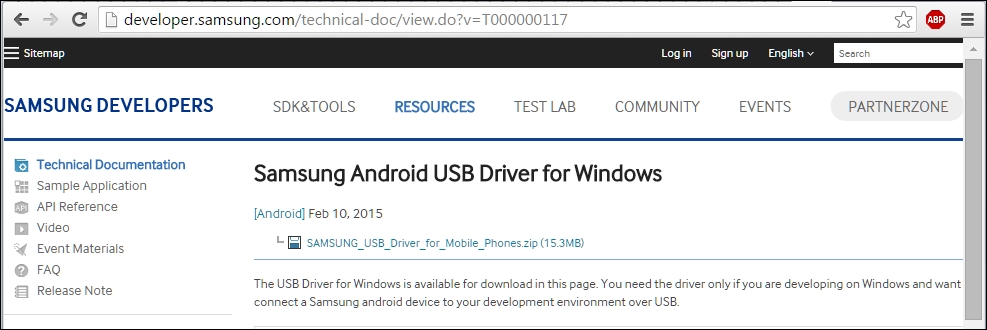
- Download Samsung USB driver from the following URL and install it on your computer:
http://developer.samsung.com/technical-doc/view.do?v=T000000117
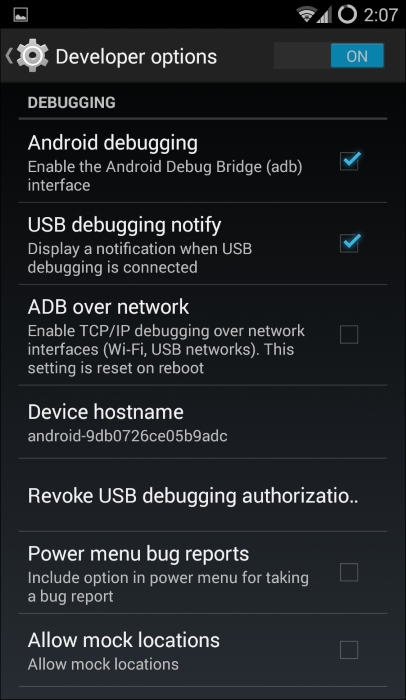
- You also need to enable USB debugging by following this path: Settings | Developer options | USB debugging. Your screen might be slightly different based on the Android version you are using, but look for USB debugging and check it:
Tip
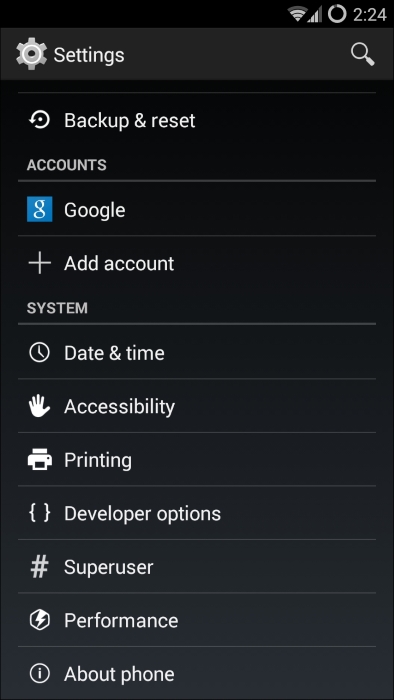
If you don't see the Developer options, you can enable it by following this path: Settings | About Phone | Build Number (tap a few times on it, usually seven to nine times) and go back to the menu and you will see Developer options as shown following.
- Make sure you have adb on your path as shown earlier in the chapter, Android Studio installs Android SDK under the
AppDatafolder of the current user, Android | Platform tools. Check it by opening the command prompt and typingadb. - Connect the phone to the USB cable and type
adb devicesto check if the device is recognized:
- Once you plug in the cable, you might get the authorization popup Allow USB debugging, please allow it.
- LabVIEW入門與實戰(zhàn)開發(fā)100例
- C和C++安全編碼(原書第2版)
- Apache Hive Essentials
- 云原生Spring實戰(zhàn)
- Java虛擬機字節(jié)碼:從入門到實戰(zhàn)
- Apex Design Patterns
- Go并發(fā)編程實戰(zhàn)
- Node.js全程實例
- Instant Nancy Web Development
- Learning OpenStack Networking(Neutron)(Second Edition)
- 從Java到Web程序設(shè)計教程
- Python商務(wù)數(shù)據(jù)分析(微課版)
- OpenCV Android開發(fā)實戰(zhàn)
- H5+移動營銷設(shè)計寶典
- Python Business Intelligence Cookbook