- Visualforce Development Cookbook(Second Edition)
- Keir Bowden
- 709字
- 2021-07-14 10:08:41
Setting a value into a controller property
Visualforce controllers are often reused across pages with minor variations in behavior specific to the page, for example, displaying accounts of a particular type. While the controller can detect the page that it is being used by and alter its behavior accordingly, this is not a particularly maintainable solution, as use of the controller in any new page would require changes to the Apex code and renaming a page would break the functionality.
A better mechanism is for the page to set the values of properties in the controller to indicate the desired behavior. In this recipe, we will create a custom component that takes two attributes: a value and the controller property to set the value into. Two Visualforce pages with a common controller will also be created to demonstrate how the component can be used to change the behavior of the controller to suit the page.
Getting ready
This recipe does not require any Apex controllers, so we can start with the custom component.
How to do it...
- Navigate to the Visualforce Components setup page by clicking on Your Name | Setup | Develop | Components.
- Click on the New button.
- Enter
SetControllerPropertyin the Label field. - Accept the default SetControllerProperty that is automatically generated for the Name field.
- Paste the contents of the
SetControllerProperty.componentfile from the code downloaded into the Visualforce Markup area and click on the Save button. - Next, create the custom controller for the Visualforce pages by navigating to the Apex Classes setup page by clicking on Your Name | Setup | Develop | Apex Classes.
- Click on the New button.
- Paste the contents of the
AccountsTypeController.clsApex class from the code downloaded into the Apex Class area. - Click on the Save button.
- Next, create the first Visualforce page by navigating to the Visualforce setup page by clicking on Your Name | Setup | Develop | Visualforce Pages.
- Click on the New button.
- Enter
AccountsType1in the Label field. - Accept the default AccountsType1 that is automatically generated for the Name field.
- Paste the contents of the
AccountsType1.pagefile from the code downloaded into the Visualforce Markup area and click on the Save button. - Navigate to the Visualforce setup page by clicking on Your Name | Setup | Develop | Visualforce Pages.
- Locate the entry for the AccountsType1 page and click on the Security link.
- On the resulting page, select which profiles should have access and click on the Save button.
- Finally, create the second Visualforce page by navigating to the Visualforce setup page by clicking on Your Name | Setup | Develop | Visualforce Pages.
- Click on the New button.
- Enter
AccountsType2in the Label field. - Accept the default AccountsType2 that is automatically generated for the Name field.
- Paste the contents of the
AccountsType2.pagefile from the code downloaded into the Visualforce Markup area and click on the Save button. - Navigate to the Visualforce setup page by clicking on Your Name | Setup | Develop | Visualforce Pages.
- Locate the entry for the AccountsType2 page and click on the Security link.
- On the resulting page, select which profiles should have access and click on the Save button.
How it works...
Opening the first Visualforce page in your browser displays a list of accounts whose type is Customer - Direct: https://<instance>/apex/AccountsType1.
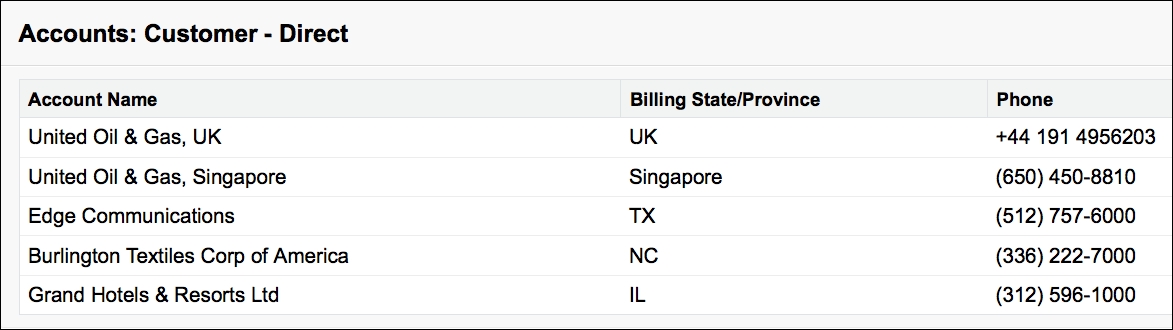
Here, <instance> is the Salesforce instance specific to your organization, for example, na6.salesforce.com.
Opening the second Visualforce page displays a list of accounts whose type is Customer - Channel: https://<instance>/apex/AccountsType2.
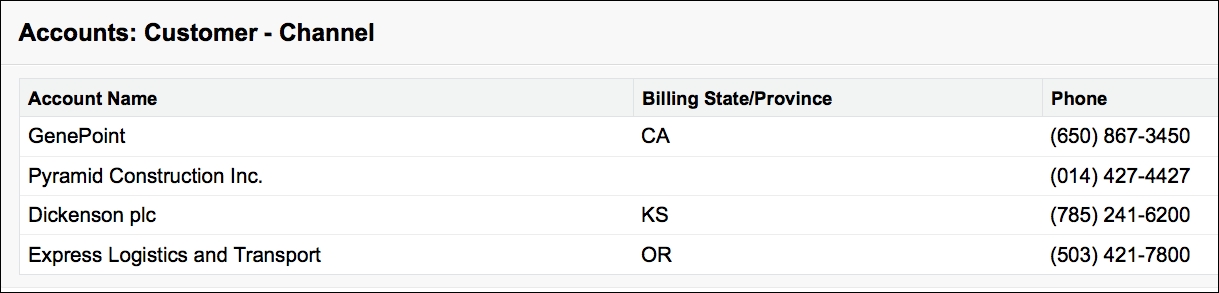
Here, <instance> is the Salesforce instance specific to your organization, for example, na6.salesforce.com.
The SetControllerProperty custom component assigns the value attribute to the controller property attribute:
<apex:component >
    <apex:attribute name="from" type="String" assignTo="{!to}"
      description="The value to set"/>
    <apex:attribute name="to" type="String"
      description="The controller property to set the value into"/>
</apex:component>
The Visualforce pages set the type of account to be retrieved into the controller property via the custom component:
<c:SetControllerProperty from="Customer - Direct"
to="{!accType}" />
See also
- The Updating attributes in component controllers recipe in this chapter shows how a custom component can update an attribute that is a property of the enclosing page controller.
- The Passing attributes to components recipe in this chapter shows how an
sObjectmay be passed as an attribute to a custom component.
- Dreamweaver CS3+Flash CS3+Fireworks CS3創(chuàng)意網(wǎng)站構(gòu)建實(shí)例詳解
- 大學(xué)計算機(jī)基礎(chǔ):基礎(chǔ)理論篇
- PostgreSQL 11 Server Side Programming Quick Start Guide
- Cloud Analytics with Microsoft Azure
- B2B2C網(wǎng)上商城開發(fā)指南
- 分布式多媒體計算機(jī)系統(tǒng)
- 悟透JavaScript
- FPGA/CPLD應(yīng)用技術(shù)(Verilog語言版)
- 過程控制系統(tǒng)
- 基于敏捷開發(fā)的數(shù)據(jù)結(jié)構(gòu)研究
- The DevOps 2.1 Toolkit:Docker Swarm
- FANUC工業(yè)機(jī)器人配置與編程技術(shù)
- C#求職寶典
- 計算機(jī)應(yīng)用基礎(chǔ)實(shí)訓(xùn)(職業(yè)模塊)
- 從零開始學(xué)ASP.NET