- Visualforce Development Cookbook(Second Edition)
- Keir Bowden
- 619字
- 2021-07-14 10:08:38
Adding a launch page
When a Visualforce page is deployed to production, only users whose profiles have been given access via the security settings will be able to access the page. Any user with a profile that does not have access will receive an Insufficient Privileges error, which is not a good experience and can lead users to think that the page is crashing.
A better solution is to check whether the user has access to the page and if they do not, present a user-friendly message that explains the situation and directs them to where they can get more help.
In this recipe, we will create a launch page accessible to all profiles that checks whether the user has access to the protected page. If the user has access, they will be transferred to the protected page, while if they don't, they will receive an explanatory message.
How to do it...
This recipe requires a second user login. Ensure that this is not created with the System Administrator profile, as that profile has access to all Visualforce pages regardless of the security settings:
- Navigate to the Visualforce setup page by clicking on Your Name|Setup|Develop|Visualforce Pages.
- Click on the New button.
- Enter
ProtectedContentin the Label field. - Accept the default ProtectedContent that is automatically generated for the Name field.
- Paste the contents of the
ProtectedContent.pagefile from the code download into the Visualforce Markup area. - Click on the Save button to save the page.
- Navigate to the Visualforce setup page by clicking on Your Name|Setup|Develop|Visualforce Pages.
- Locate the entry for the ProtectedContent page and click on the Security link.
- On the resulting page, ensure that the profile of your second user does not have access to the ProtectedContent page.
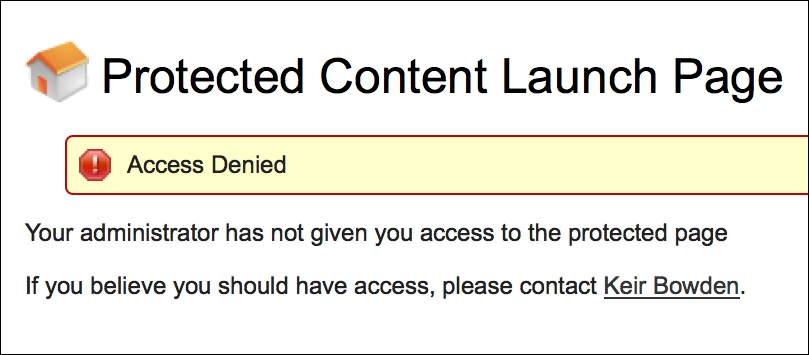
- Log in using your second user credentials and attempt to access any account record. You will receive an error message, as shown in the following screenshot:

- Next, create the launch page controller by navigating to the Apex Classes setup page, clicking on Your Name|Setup|Develop|Apex Classes.
- Click on the New button.
- Paste the contents of the
LaunchController.clsApex class from the code download into the Apex Class area. - Click on the Save button.
- Navigate to the Visualforce setup page by clicking on Your Name|Setup|Develop|Visualforce Pages.
- Click on the New button.
- Enter
Launchin the Label field. - Accept the default Launch that is automatically generated for the Name field.
- Paste the contents of the
Launch.pagefile from the code download into the area. - Click on the Save button to save the page.
- Navigate to the Visualforce setup page by clicking on Your Name|Setup|Develop|Visualforce Pages.
- Locate the entry for the Setup page and click on the Security link.
- On the resulting page, give access to all of the profiles and click on the Save button.
How it works...
Log in using your second user credentials and open the following URL in your browser: https://<instance>/apex/Launch.
Here, <instance> is the Salesforce instance specific to your organization, for example, na6.salesforce.com.
The resulting page displays a friendly error message announcing that your user does not have access to the page, and renders a clickable link to request access.
The Launch page declaration contains an action attribute:
<apex:page controller="LaunchController" action="{!allowAccess}">
This invokes the allowAccess action method in the controller before the page is rendered:
public PageReference allowAccess()
{
   PageReference pr=Page.ProtectedContent;
   try
   {
       pr.getContent();
         }
   catch (Exception e)
   {
       pr=null;
   }

   return pr;
}
The allowAccess method attempts to retrieve the contents of the protected page programmatically. If the contents are retrieved successfully, it returns the page reference for the Protected page, which redirects the user to that page. If an exception occurs, the method returns null, which leaves the user on the Launch page and displays the friendly error message.
- 集成架構中型系統
- 基于C語言的程序設計
- 過程控制工程及仿真
- 基于LPC3250的嵌入式Linux系統開發
- Getting Started with MariaDB
- TIBCO Spotfire:A Comprehensive Primer(Second Edition)
- Dreamweaver CS3網頁設計與網站建設詳解
- Docker Quick Start Guide
- 21天學通Visual Basic
- INSTANT Autodesk Revit 2013 Customization with .NET How-to
- 在實戰中成長:C++開發之路
- 大數據:引爆新的價值點
- 機器人制作入門(第4版)
- Generative Adversarial Networks Projects
- Mastercam X5應用技能基本功特訓