- Roslyn Cookbook
- Manish Vasani
- 168字
- 2021-07-15 17:07:36
How to do it...
- Build CSharpAnalyzers solution in Visual Studio by executing the Build | Build Solution command.
- Open the binary output folder for the CSharpAnalyzers project (<%SolutionFolder%>\CSharpAnalyzers\bin\debug) in Windows Explorer and verify that the NuGet package for the analyzer named, CSharpAnalyzers.1.0.X.Y.nupkg, is generated in the folder.
- Double-click on the Diagnostic.nuspec file in the CSharpAnalyzers project in Solution Explorer to view and configure the properties of the nupkg.
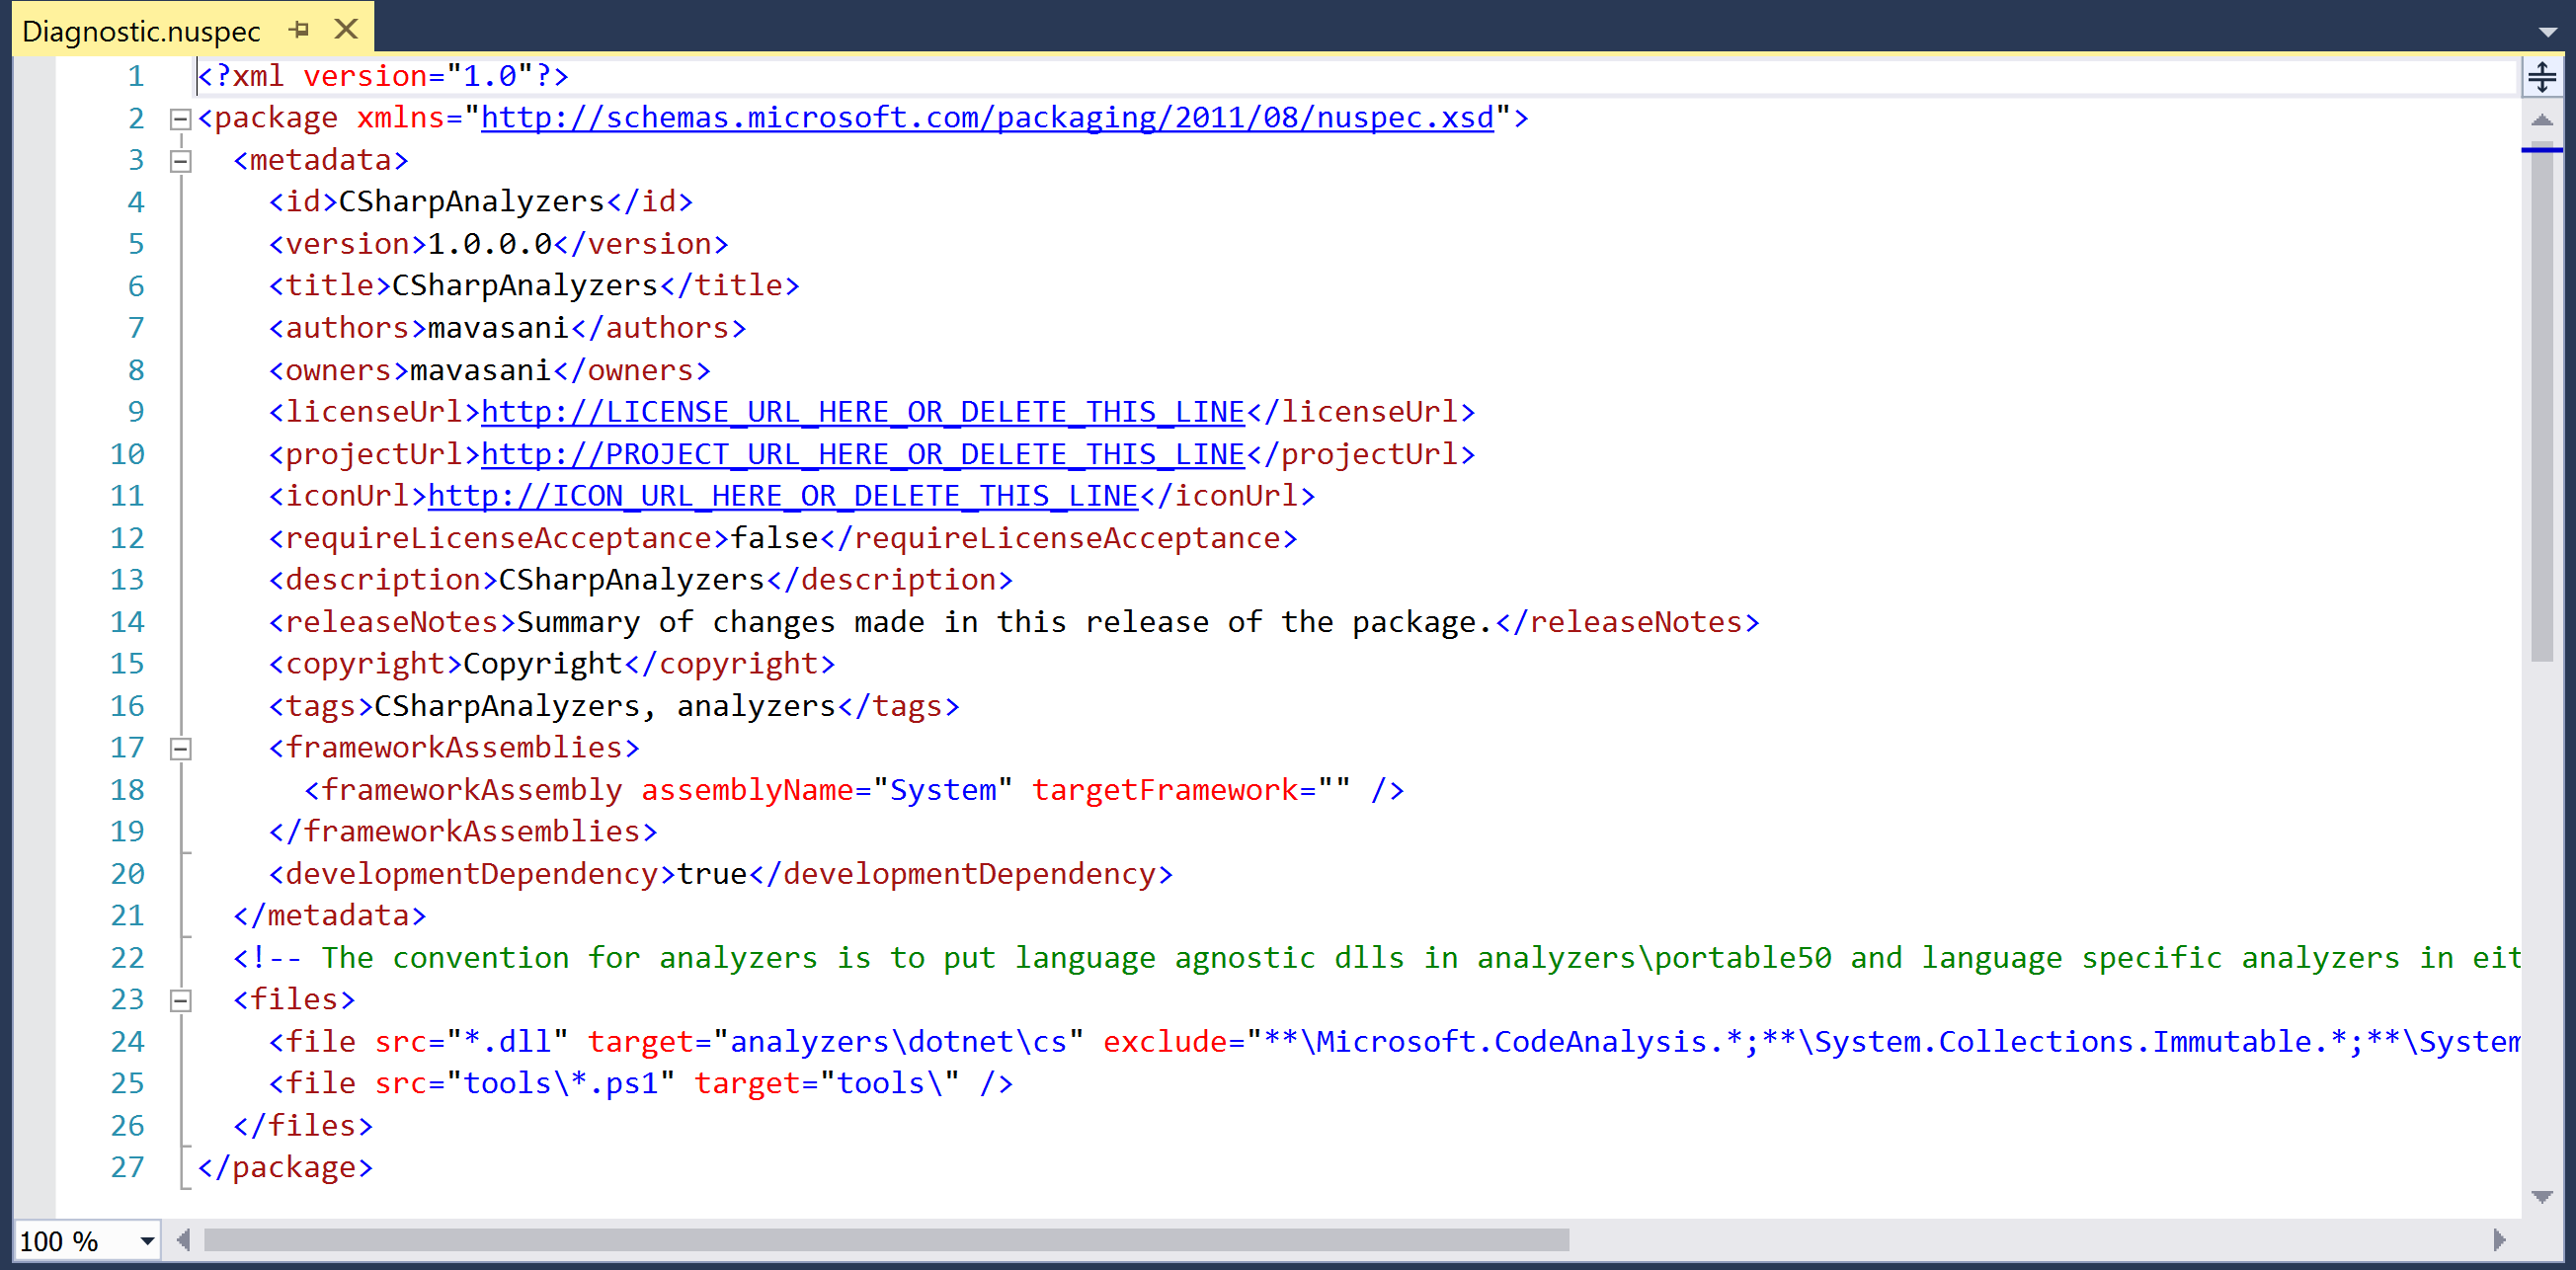
- Rebuild the project to regenerate the nupkg with new properties.
- Publish the nupkg as a public or private package by following the steps listed here: https://docs.microsoft.com/en-us/nuget/create-packages/publish-a-package.
- Open the binary output folder for the CSharpAnalyzers.Vsix project (<%SolutionFolder%\CSharpAnalyzers.Vsix\bin\debug) in Windows Explorer and verify that VSIX for the analyzer named, CSharpAnalyzers.Vsix.vsix, is present in the folder.
- Double-click on the source.extension.vsixmanifest file in the CSharpAnalyzers.Vsix project in the Solution Explorer to view and configure the properties of the VSIX package.
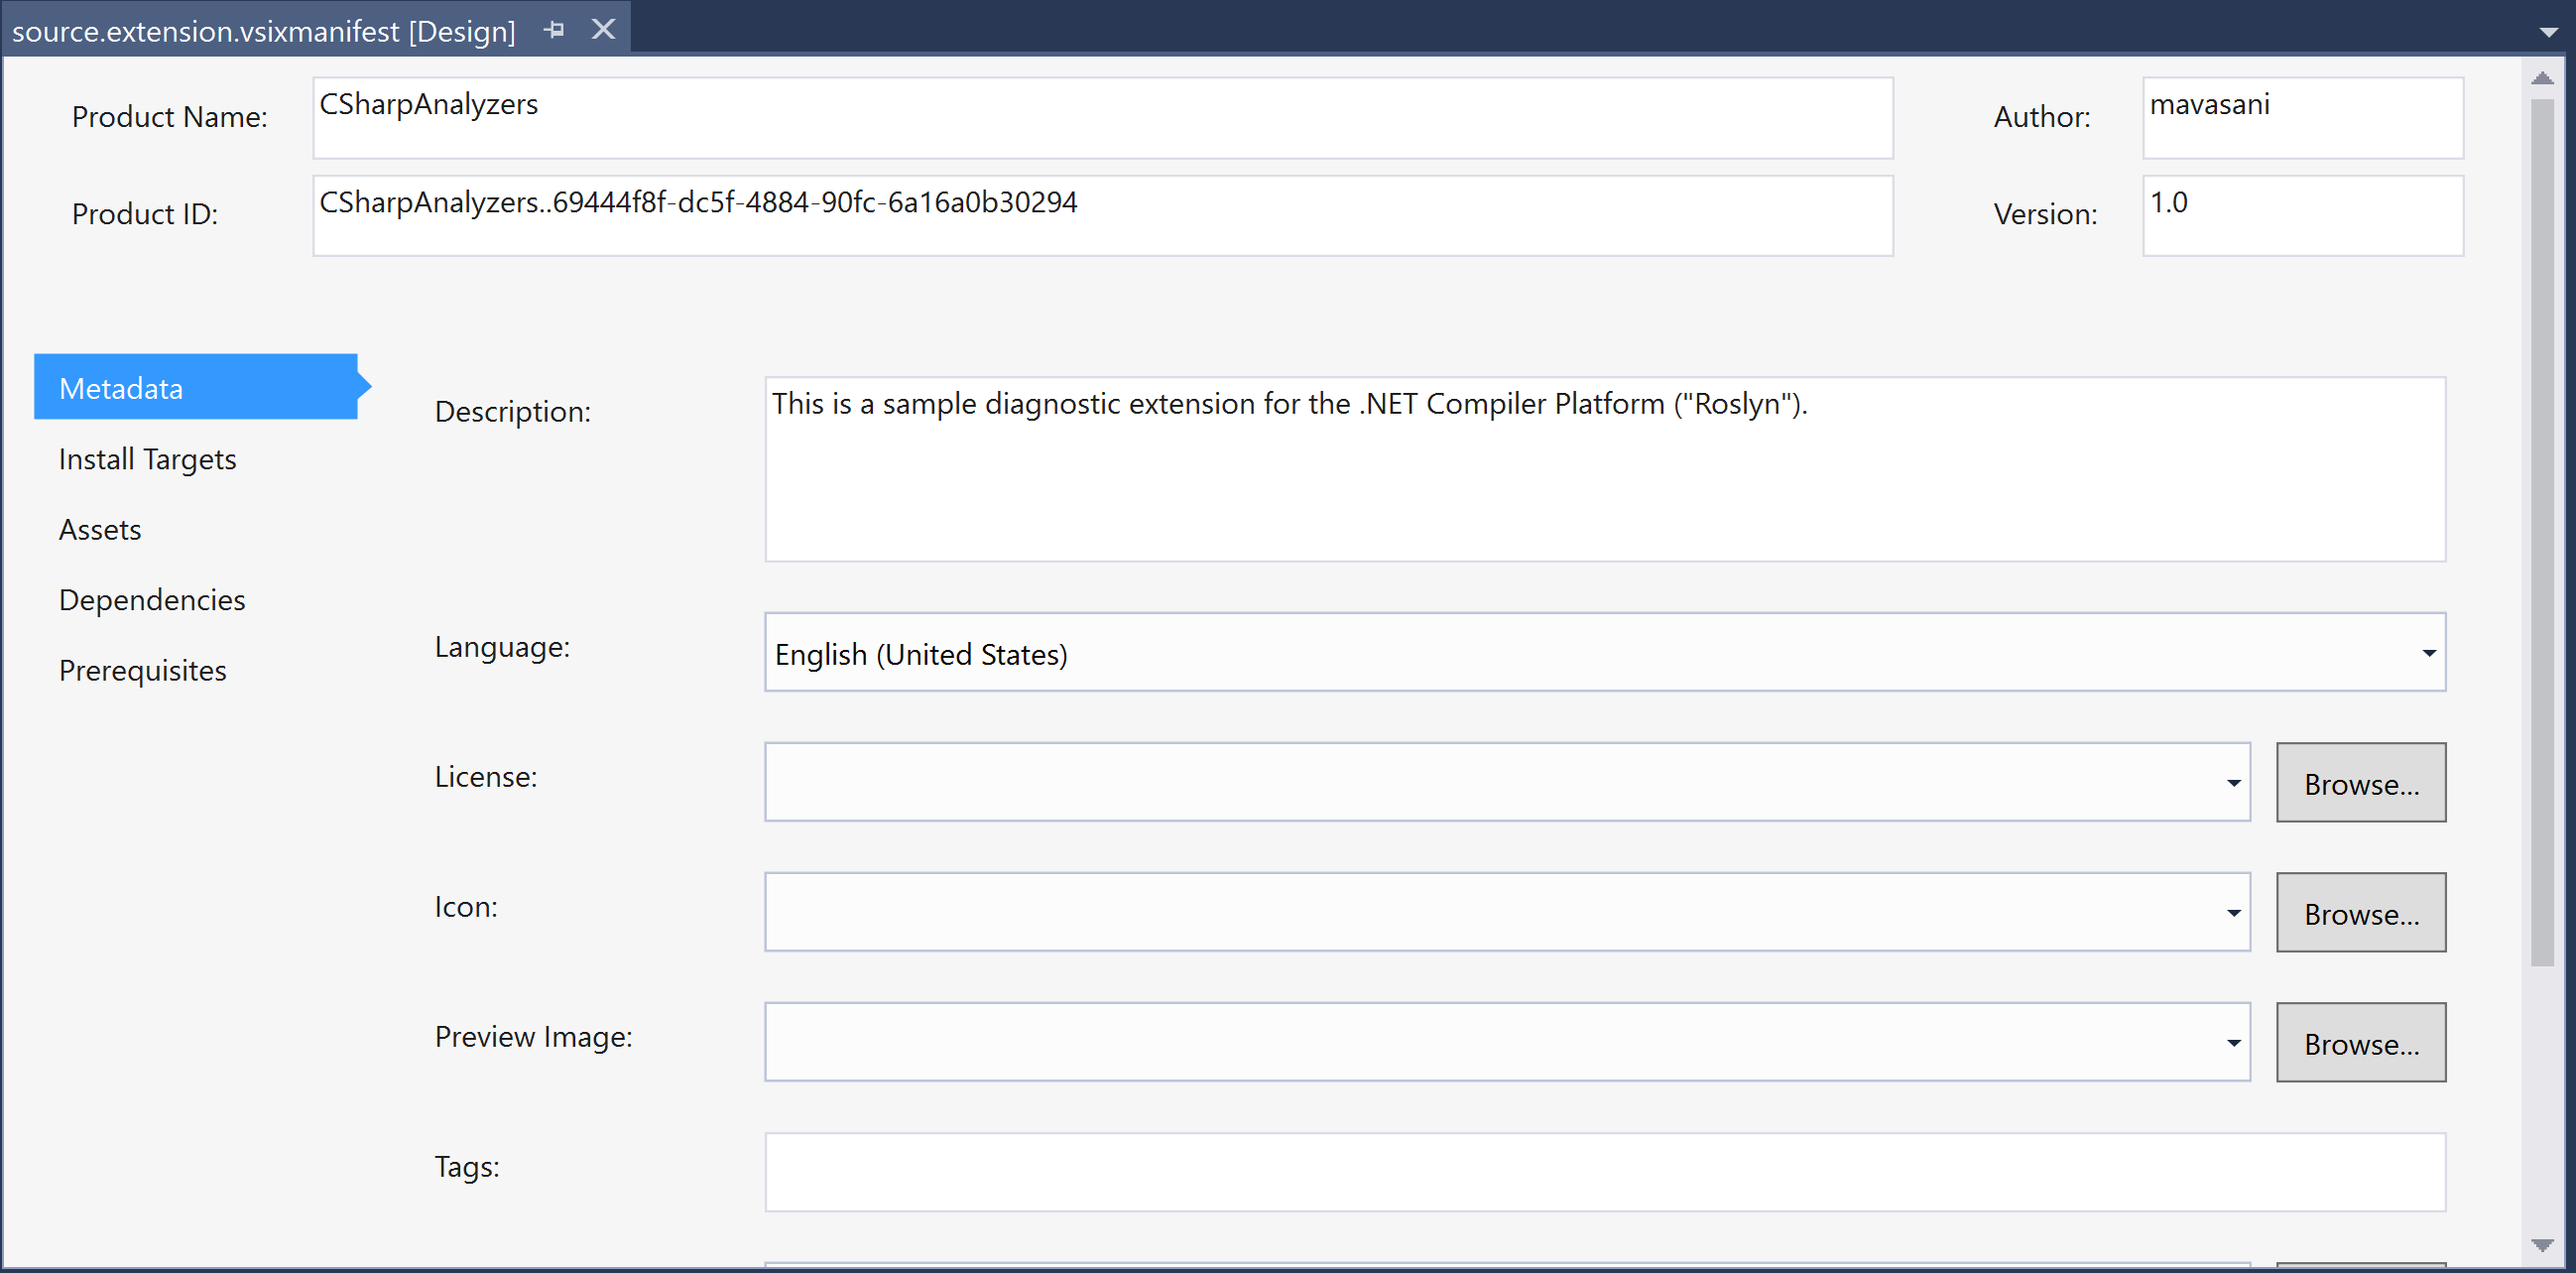
- Rebuild the VSIX project to regerate the VSIX.
- Publish it to the Visual Studio Extension Gallery by following the steps listed here: https://msdn.microsoft.com/en-us/library/ff728613.aspx.
推薦閱讀
- 手機安全和可信應用開發指南:TrustZone與OP-TEE技術詳解
- jQuery Mobile Web Development Essentials(Third Edition)
- 玩轉Scratch少兒趣味編程
- 樂高機器人設計技巧:EV3結構設計與編程指導
- 精通Scrapy網絡爬蟲
- INSTANT Mercurial SCM Essentials How-to
- Learn React with TypeScript 3
- AIRIOT物聯網平臺開發框架應用與實戰
- Microsoft Azure Storage Essentials
- Learning PHP 7
- 速學Python:程序設計從入門到進階
- 計算機應用技能實訓教程
- Scratch 3.0少兒積木式編程(6~10歲)
- Learning Rust
- C語言從入門到精通(第4版)