- Learning Microsoft Azure Storage
- Mohamed Waly
- 161字
- 2021-07-02 15:26:13
Creating Queue storage
Let’s see how we can create Queue storage in the storage account we created in the last chapter.
- Navigate to the storage we created in the last chapter using the portal, as shown in the following screenshot:
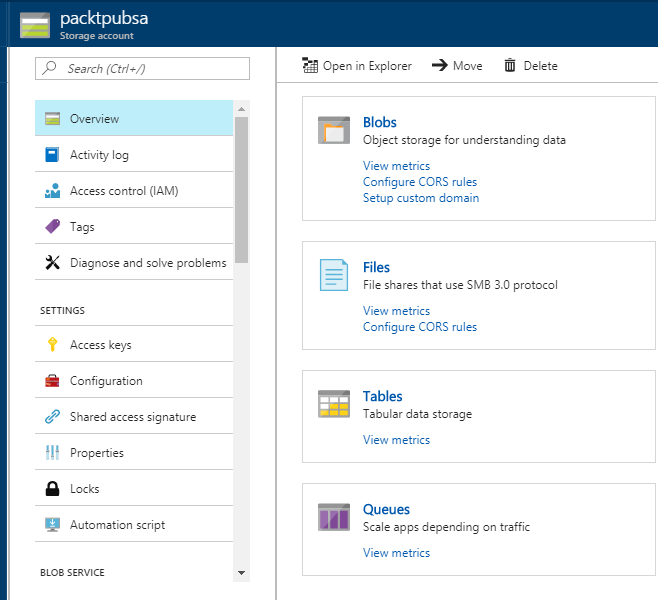
Figure 2.11: Azure Storage services
- You can see all the storage services in the previous screenshot. To manage queues, you have to click on Queue, and a new blade will appear, as shown in the following screenshot:
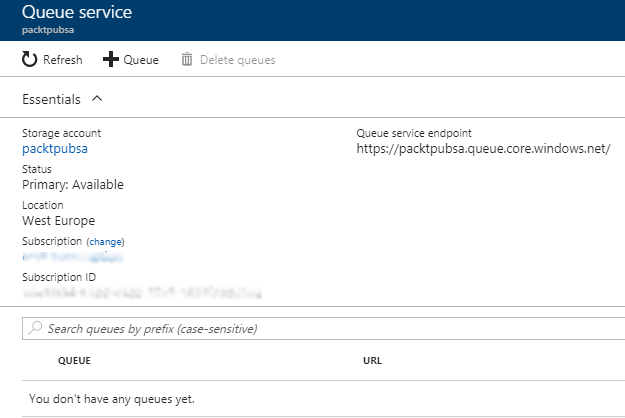
Figure 2.12: Azure Queue service overview
- In order to create a Queue service, just click on Queue and specify the Queue name, as shown in the following screenshot:
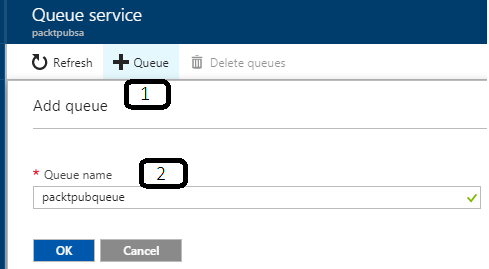
Figure 2.13: Azure Queue service creation
- Once done, you will see that the Queue has been created, as shown in the following screenshot:
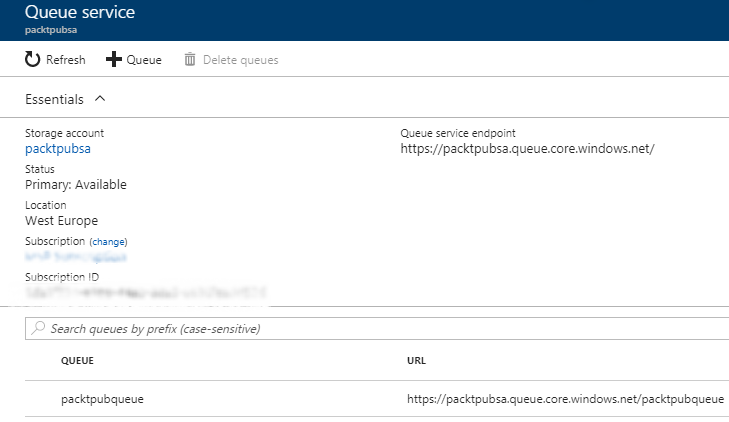
Figure 2.14: The created queue
For developers who are interested in learning how to access a created Queue and start working with it, you can check the following link: https://docs.microsoft.com/en-us/azure/storage/storage-dotnet-how-to-use-queues.
推薦閱讀
- 極簡AI入門:一本書讀懂人工智能思維與應用
- Hands-On Cybersecurity with Blockchain
- 四向穿梭式自動化密集倉儲系統的設計與控制
- Mastering pfSense
- 軟件構件技術
- C++程序設計基礎(上)
- Unreal Development Kit Game Design Cookbook
- Cloudera Hadoop大數據平臺實戰指南
- 手把手教你學Photoshop CS3
- DynamoDB Applied Design Patterns
- 計算機辦公應用培訓教程
- JSP網絡開發入門與實踐
- 開放自動化系統應用與實戰:基于標準建模語言IEC 61499
- EDA技術及其創新實踐(Verilog HDL版)
- SQL Server 2019 Administrator's Guide