- Hands-On Networking with Azure
- Mohamed Waly
- 457字
- 2021-06-24 18:41:25
Configuring virtual network peering
Configuring virtual network peering is a very straightforward process. To do so, you can follow these steps:
- Navigate to Virtual networks, and open the blade of one of the virtual networks that you want to peer.
- Scroll down to Peerings, as shown in the following screenshot:
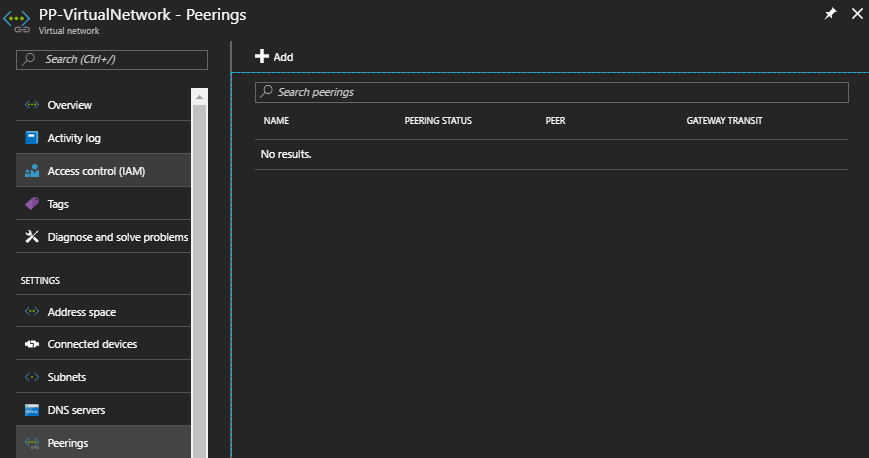
Figure 2.7: Virtual network peering
- Click on Add, and a new blade will pop up, where you have to specify the following:
- Name: Give the peer a name.
- Virtual network deployment model: Specify whether you want to work with Resource manager or Classic model.
- I know my resource ID: Select this option to enter the resource ID of the virtual network you wish to peer with if you do not have read access to the virtual network or a subscription you want to peer with.
- Subscription: Select the subscription of the virtual network you wish to peer with.
- Virtual network: Specify the virtual network you wish to peer with.
- Allow virtual network access: Enable this option if you wish to allow communication between the two virtual networks. This allows the virtual network address space to be included as a part of the VIRTUAL_NETWORK tag.
- Allow forwarded traffic: This option allows the peer's forwarded traffic (traffic not originating from inside the peer virtual network) into your virtual network.
- Allow gateway transit: This option allows the peer virtual network to use your virtual network gateway. The virtual network cannot have a gateway configured, and must select Use remote gateways in its peering settings.
- Use remote gateways: Select this option if you wish to use your peer's virtual network gateway. The peer virtual network must have a gateway configured, as well as Allow gateway transit enabled. Only one peering in this virtual network can have this enabled. You cannot use this setting if you already have a gateway configured in your virtual network.

Figure 2.8: Configuring the peering
- Once you are done, you can see that the peer has been created, as shown in the following screenshot:

Figure 2.9: The created peer
- As you can see in the previous screenshot, the PEERING STATUS is Initiated, and that means you are only done with the first part. Therefore, you need to navigate to the peered virtual network and repeat the same steps for the peer creation.
- Once you are done with repeating the process on the peered virtual network, the PEERING STATUS should be turned into Connected, which means everything is going fine, and you can communicate successfully with resources from any virtual network peer, as shown in the following screenshot:

Figure 2.10: Peering status change
- By now and based on the settings you have specified during the peering configuration, the traffic would follow between the two virtual networks.
推薦閱讀