- Hands-On Networking with Azure
- Mohamed Waly
- 92字
- 2021-06-24 18:41:23
Creating a virtual network using Azure CLI 2.0
To create a virtual network using Azure CLI 2.0, you have to follow these steps:
- Log in to your Azure account using the following command az login, you have to open the URL that pops up on the CLI, and then enter the following code:
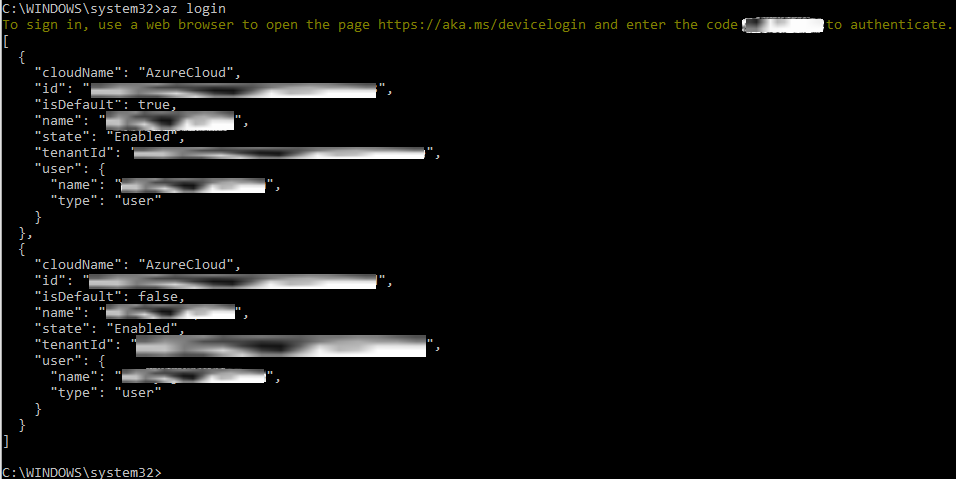
Figure 1.19: Logging in to Azure via Azure CLI 2.0
- To create a new virtual network, you need to run the following command:
az network vnet create --name CLIVNet --resource-group PacktPub --location westeurope --address-prefix 192.168.0.0/16 --subnet-name s1 --subnet-prefix 192.168.1.0/24