- Hands-On Networking with Azure
- Mohamed Waly
- 283字
- 2021-06-24 18:41:21
Creating Azure VNet
Creating an Azure VNet is a pretty straightforward process. To do this task, follow these steps:
- Open the ARM portal and log in using the account associated with your Azure subscription.
- Once logged in, navigate to More services, and search for virtual network, as shown in the following screenshot:
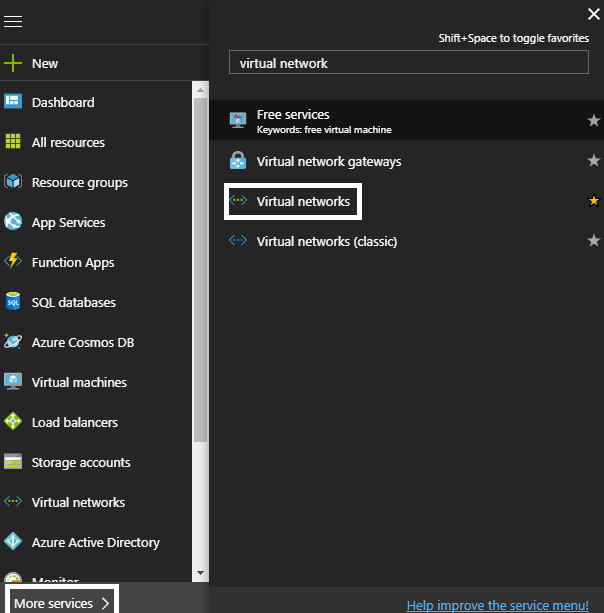
Figure 1.4: Searching for virtual networks blade
- You will be navigated to a new blade, wherein you can display the virtual networks you have created, and you can also create new virtual networks, as shown in the following screenshot:
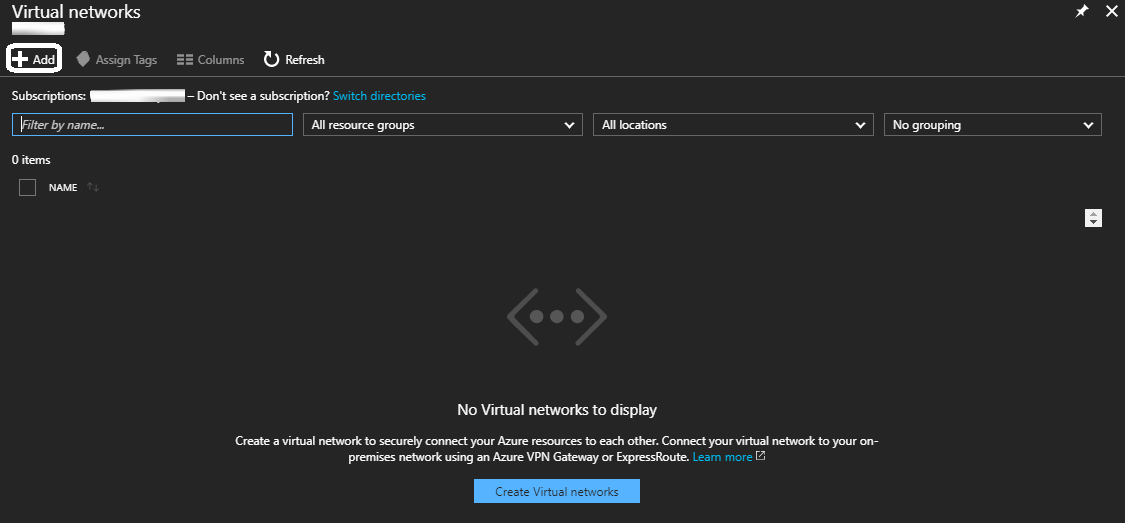
Figure 1.5: Virtual networks blade
- Click on Add, and a new blade will be opened for which you have to fill the following fields:
- Name: The name of the virtual network.
- Address space: The virtual network's address range in CIDR notion.
- Subscription: If you have multiple subscriptions associated to the account you have logged in with, you have to specify which subscription will be charged for this service.
- Resource group: Specify whether you want to create a new resource group for the resource you are creating, or use an existing one.
- Location: The region on which this virtual network will operate.
- Subnet-name: The name of the first subnet in the virtual network you are creating.
- Subnet | Address range: The subnet's address range in CIDR notion. It must be contained by the address space of the virtual network.
- Service endpoints (Preview): It can be used in securing your traffic between some Azure services in Microsoft's backbone network. More information about it will be covered in Chapter 2, Delving into Azure Virtual Networks:
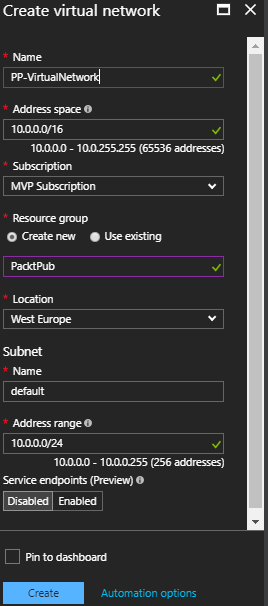
Figure 1.6: Creating a virtual network
- Click on Create, and within a moment the virtual network will be created.